Reducing the Chance of Slipping
Adding Slip Resistance to Q-Deck Decking
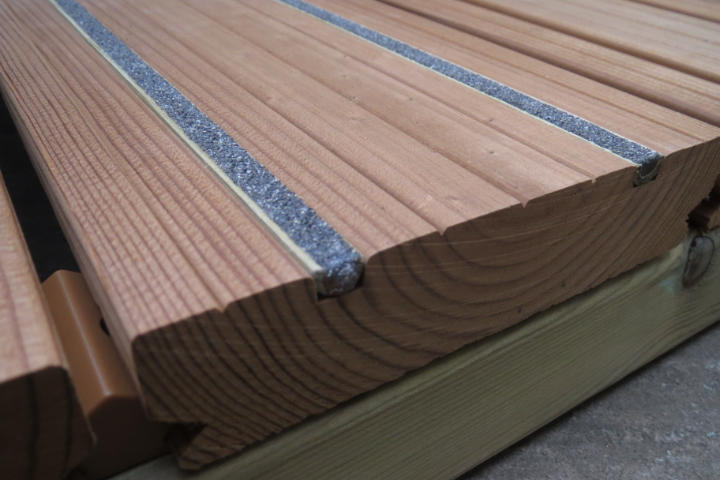
Q-Grip Strip with GripDeck® Technology can be retro-fitted to existing decks where the deckboards have become slippery or to certain specific Q-Deck deckboards, ie. York and Canterbury Q-Deck deckboards.
Please Note:
To be able to effectively secure Q-Grip Strip it must be dry and of a temperature above 5°C. Ideally store at room temperature until just before fitting.
To fit the strips to the Q-Deck deckboards detailed above: Firstly ensure the grooves are clean, dry free of debris and that any original deck screws used to secure the deckboards in the first place are not sitting proud of the base of the groove. If so, tighten accordingly.
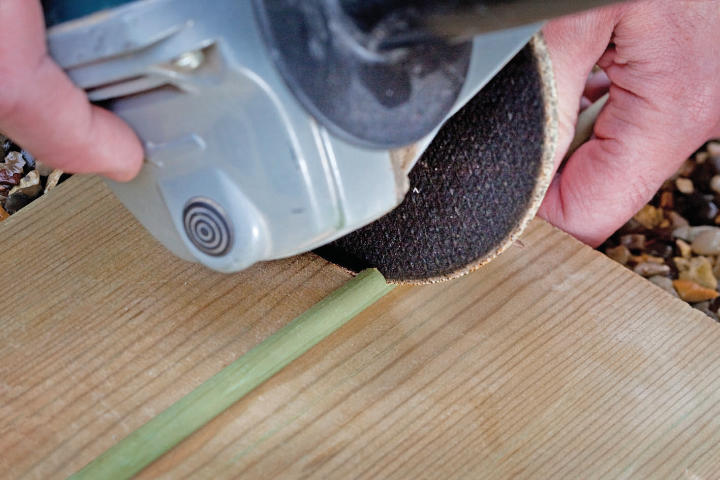
Then consider the area to be covered with Q-Grip Strips and cut them to length as required using a grinder with stone cutting disc. It is best to place the Q-Grip Strip flat side down on some scrap wood to do this.
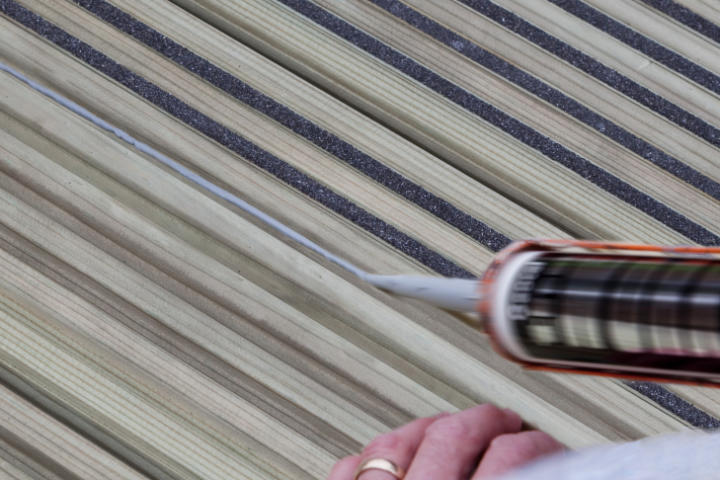
Apply one continuous (centrally located in the groove to be filled) 4-6mm maximum bead of a suitable gap filling adhesive that also has the properties of an external use sealant i.e. flexible and both water and U.V. resistant. You may consider the use of a sealant/adhesive called 'theWORKS' by Geocel in grey or Sikaflex EBT or 11FC+ by Sika Ltd in grey. Always follow the adhesive manufacturers instructions. For up to date information please download our Q-Grip literature via the Guides page.
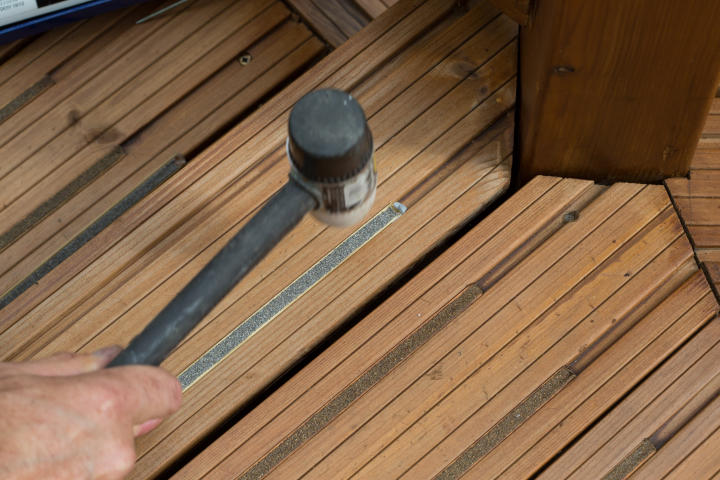
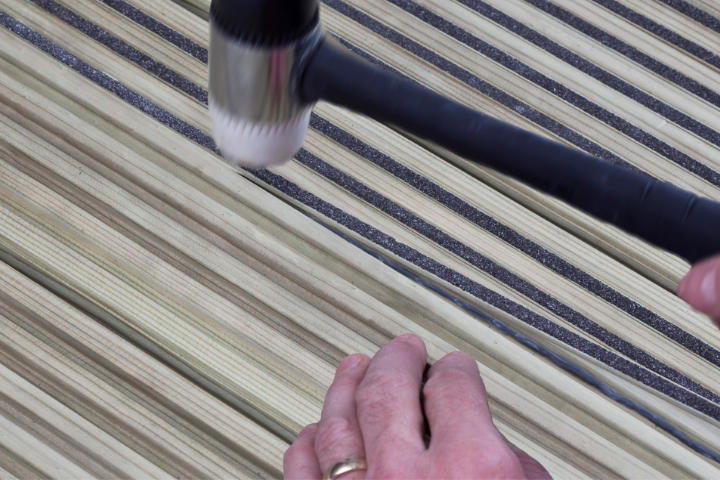
Check for any surface contaminants on the reverse of each Q-Grip Strip then carefully place the Q-Grip Strip in the desired position and gently apply downward pressure to 'pinch' it into place along its length using a rubber headed mallet. This action will force the adhesive to fill the voids between the edges of the groove and the back of the specially profiled Q-Grip Strip.
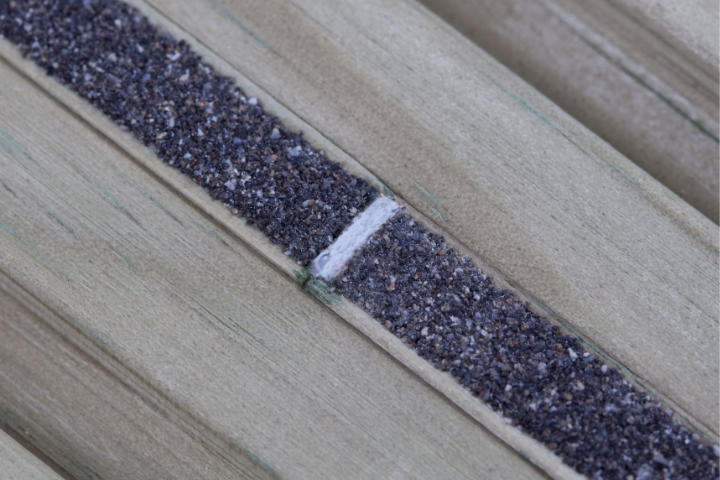
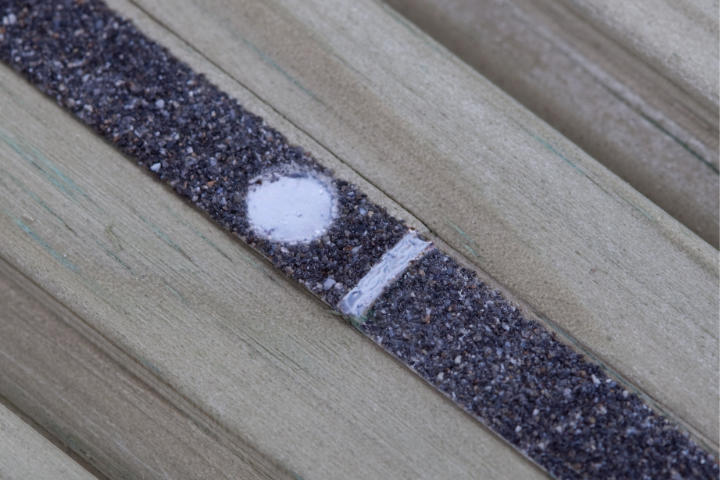
If you need to butt Q-Grip Strip end to end then apply slightly more adhesive at this position and carefully wipe away excess adhesive that forces up between the joint sealing the gap in the process.
If an end of a Q-Grip Strip doesn't 'pinch' sufficiently to allow it to be secured flush with the top of the groove, it is advisable to gently and temporarily secure it with a 4mm gauge 12-25mm long screw. You will need to pre-drill a pilot hole though the Q-Grip Stripusing a small diameter masonry drill bit (we advise no greater than 3mm). Once the adhesive has cured and created a suitable bond remove the screw and carefully fill and seal the hole it accommodated with more adhesive/sealant.
To fit the strips to an existing deck the same process applies as detailed in points 1-3 (if applicable), after you have created your own 5 x 8mm grooves using a hand held router.
On hardwood decks this grooving process will not affect any existing warranties that may be in place but we advise that you confirm this with the original supplier. When grooving existing softwood decks it is likely that any existing warranties that may be in place will be invalidated and we advise that you confirm this with the original supplier. This is the case for any Q-Deck decking not designed to accept the Q-Grip Strip.
